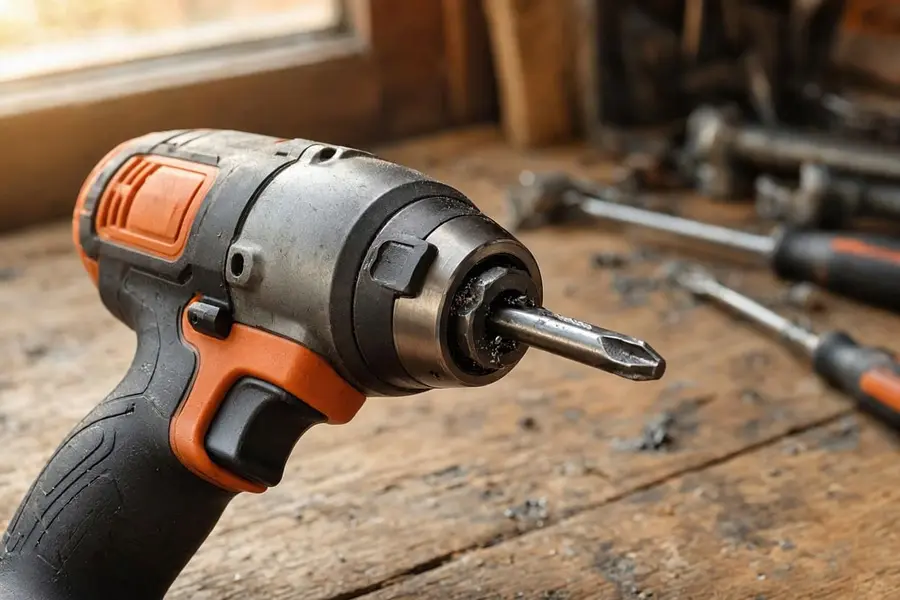
There is nothing more frustrating than being midway through a project, going to swap a Pozidriv bit for a Torx or a socket adapter, and finding the chuck completely jammed. I have had this happen on my own DeWalt driver more times than I care to admit, and it always seems to happen right when you are in a rush.
Because modern impact drivers deliver thousands of high-torque rotational blows per minute, the 1/4″ hex shank experiences immense mechanical stress. Over time, high friction, microscopic metal ridges, rust, and fine timber dust can seize the quick-release locking mechanism or lock the shank inside the anvil.
If your bit or collet sleeve is stuck fast, do not panic or force it violently with a pair of oversized pliers. Here is exactly why your impact driver bit is jammed and four safe, step-by-step methods I use on my own workbench to free it without ruining the tool.
Disclosure: As an Amazon Associate, I earn from qualifying purchases made through links on this page. If you buy a tool through my links, it costs you nothing extra, but the small commission helps me keep this site running.
Looking for a tool with a smoother quick-release mechanism? Check out my hands-on buying guide to the 5 Best Impact Drivers for DIY UK to see top-rated models featuring smooth, single-handed load-in anvils.
Why Impact Driver Bits Get Stuck
Before grabbing your tools to force it out, it helps to understand exactly what is holding that bit hostage inside your quick-release collet:
- Shank Burrs & Mushrooming: High rotational impact causes cheaper steel shanks to deform slightly inside the anvil. A microscopic metal ridge (burr) forms on the notch where the chuck’s internal locking ball bearing sits, preventing the shank from sliding backward.
- Dust, Resin & Rust Build-Up: Fine plasterboard dust, wet timber sap, or rust can migrate into the spring-loaded sleeve, locking the steel ball bearing in its downward clamped position.
- Improper Shank Length: Inserting a tiny 25mm bit directly into the chuck without a bit holder pushes the bit past the ball bearing groove. It sinks too deep, jamming itself inside the internal spring cavity.
- Snapped Hex Shank: High torque can shear the 1/4″ hex shank completely in half, leaving the lower half locked inside the collet with nothing sticking out to grip.
Real-World Lesson: Time Wasted
I once watched an apprentice drop a tiny 25mm bit straight into a bare chuck without a bit holder. It slipped right past the locking ball bearing, and we spent 15 minutes trying to fish it out.
4 Step-by-Step Methods to Free a Stuck Bit
I recommend following these methods in order, starting with the simplest physical tap before moving on to mechanical extraction tools.
Method 1: The “Tap & Pull” Technique (Best for Burred Shanks)
When a micro-burr on the bit shank is catching against the internal ball bearing, a light tap will dislodge the ridge and allow the spring mechanism to release.
THE TAP & PULL METHOD
| Step 1 | Pull back and hold the chuck’s quick-release sleeve |
| Step 2 | Lightly tap the exposed bit head with a wooden mallet or the wooden end of a chisel. |
| Step 3 | Pull the bit straight out using pliers or fingers |
Safety Note: Avoid a hammer
I always use a rubber mallet or the wooden handle of a heavy chisel here. Never hit the chuck with a steel claw hammer, as you risk fracturing the tool’s cast-metal gear housing.
- How to do it: Firmly pull and hold the spring-loaded chuck sleeve back toward the tool body. While holding the sleeve open, gently tap the tip of the stuck bit inward (toward the tool) using a wooden mallet, shoe heel, or light hammer block. This small backward nudge releases the tension between the burr and the locking ball, allowing the bit to slide out cleanly.
Method 2: Lubrication & Heat Expansion (Best for Dust & Rust)
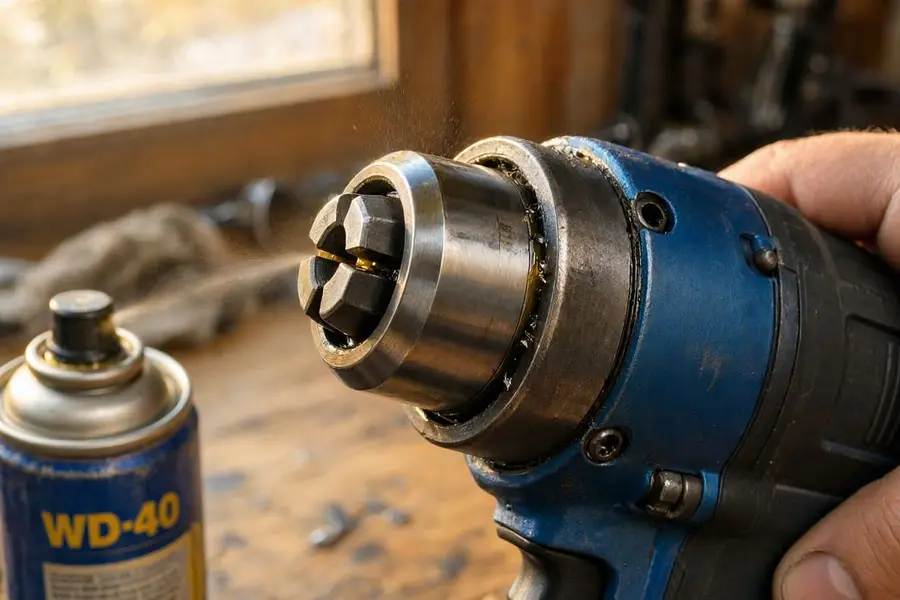
If the quick-release sleeve itself is stuck solid and will not slide back or forward, fine dust or corrosion has seized the internal locking collar.
- How to do it:
- Spray a liberal amount of penetrating fluid (such as WD-40 Specialist Penetrant or 3-IN-ONE Oil) directly into the top cavity of the chuck and around the edges of the sliding sleeve.
- Let the fluid soak for 5 to 10 minutes to break down rust and timber resin.
- Wrap a rubber grip cloth or rag around the sleeve, then slide it back and forth repeatedly until the spring action operates smoothly again.
Method 3: Pliers & Vise-Grip Pulling (Best for Stubborn Intact Bits)
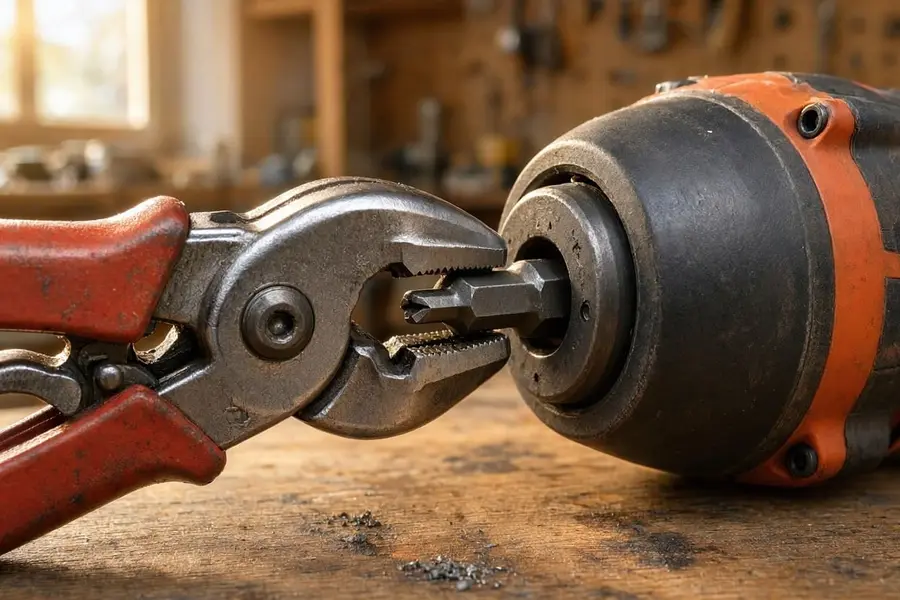
If the collet sleeve moves freely but the bit still refuses to release:
- How to do it: Clamp a pair of locking vise-grip pliers tightly onto the exposed shaft of the bit. Pull and hold the quick-release sleeve back with one hand, while tapping the back of the vise-grips outward with a hammer to pull the bit straight out along its axis.
⚠️ Warning: Never twist or wiggle the bit side-to-side with heavy force! Twisting off-axis can crack the internal ball-bearing retainer sleeve inside the tool’s aluminum gear housing.
Method 4: Neodymium Magnet or Needle-Nose Extraction (Best for Snapped Bits)
If the hex shank has snapped off flush inside the anvil, you have no metal shaft left to grip with pliers.
SNAPPED BIT EXTRACTION STEPS
| Option A: Magnet | Use a high-strength Neodymium rare-earth magnet |
| Option B: Pliers | Use ultra-thin needle-nose pliers while pulling collet |
| Option C: Gravity | Pull sleeve back and tap front tool face on timber |
If the hex shank has sheared off flush inside the anvil, you have no metal shaft left to grip with pliers. Don’t panic. The piece isn’t welded in; it’s just sitting in the cavity. Here are two ways I get them out on my bench:
- The Gravity Drop Method (My first choice): This is the easiest trick in the book. Pull the release sleeve back fully with one hand, point the nose of the driver straight down, and firmly tap the front face of the tool downward against a scrap block of timber. The combined vibration and gravity usually cause the snapped hex piece to drop straight out onto your bench.
- The Magnet Pull: If gravity fails, grab a high-strength Neodymium rare-earth magnet. Pull the quick-release collet sleeve back to open the gateway, and touch the magnet to the broken steel face. It should pluck the broken fragment right out of the hole.
How to Prevent Bits Getting Stuck in the Future
Once you have successfully freed your bit, take these three simple preventive measures:
- Ditch Cheap Carbon Steel Bits: Always use high-quality Impact-Rated Torsion Bits (like DeWalt FlexTorq or Milwaukee Shockwave). Their hardened alloy construction resists mushrooming and burrs under heavy torque loads.
- Never Insert 25mm Bits Directly: Always use a 50mm+ bit holder or double-ended bit. Short 25mm bits sink too deep into the chuck and get trapped behind the ball bearing.
- Clean and Oil the Chuck Regularly: Spray a light mist of PTFE or silicone lubricant into your impact driver’s chuck once a month to keep the spring and ball bearings moving freely.
What’s In My Tool Bag?
After burning through dozens of cheap bit sets on various DIY jobs around Belfast, I only buy two brands now. If you want to stop your bits from jamming, I highly recommend picking up the DeWalt Extreme Impact Bit Set for daily drilling, or the ultra-tough Wera Impaktor Bits if you are driving heavy structural screws.
🔗 Related Articles
- Prevent stripped screws and damaged bits:Why Does My Impact Driver Keep Stripping Screws? (5 Easy Fixes)
- Compare top cordless models:5 Best Impact Drivers for DIY UK