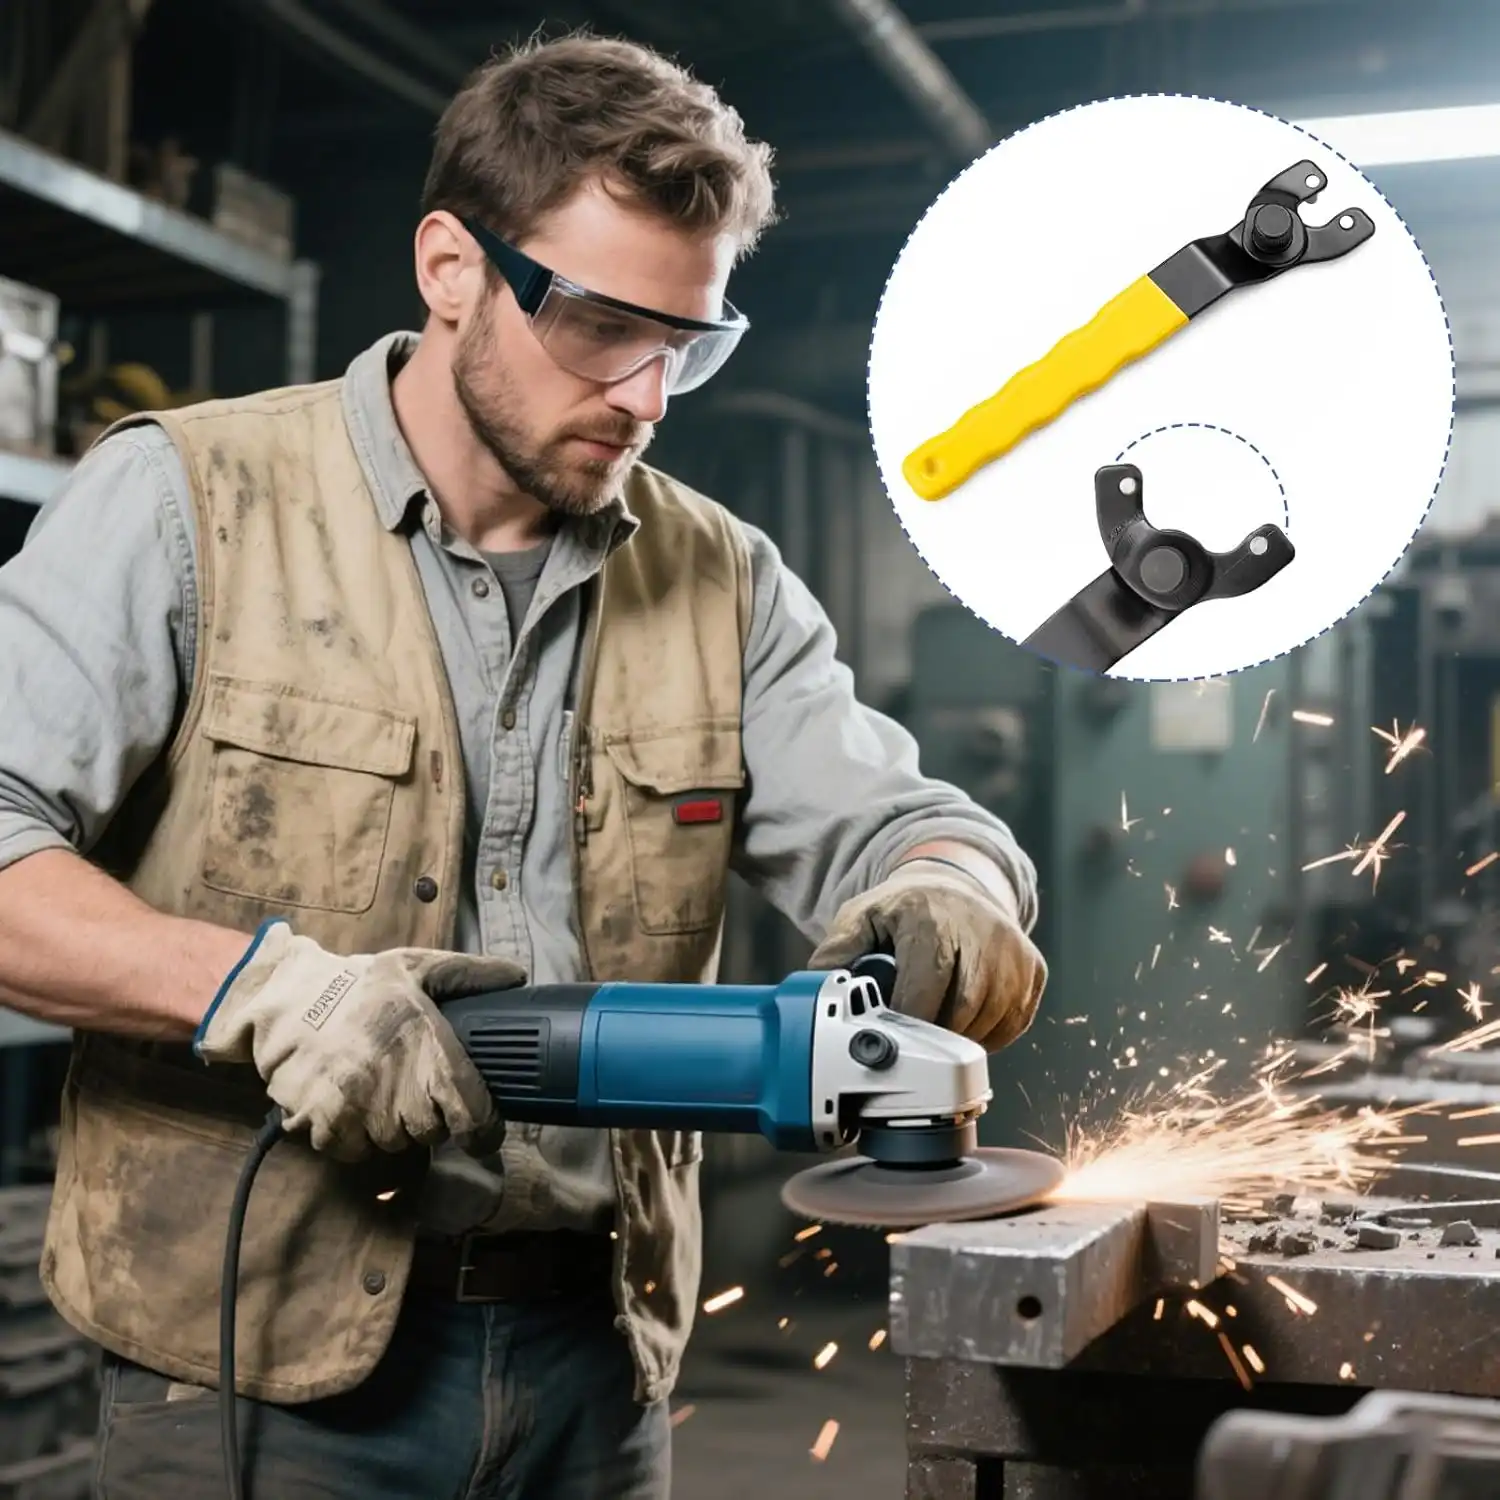
If you’re wondering how to remove an angle grinder disc without the tool, the first thing to consider is whether you actually need to improvise. If you’ve lost the pin spanner, it can be tempting to reach for whatever tool is nearby, but using an unsuitable tool to loosen a stuck locking nut can damage the grinder, disc or mounting components.
The safest approach is to disconnect the grinder completely, identify the type of disc-fitting system it uses and follow the manufacturer’s instructions. For a conventional angle grinder with a threaded spindle and two-hole locking nut, this normally means using the correct two-pin spanner supplied with the grinder.
The safest approach is to disconnect the grinder completely, identify the type of disc-fitting system it uses and follow the manufacturer’s instructions. For a conventional threaded spindle with a two-hole locking nut, this normally means using the correct two-pin spanner supplied with the grinder.
If you’ve lost the original spanner, a replacement pin spanner is usually inexpensive and is a much better option than trying to force the nut loose with improvised tools.
Quick Answer
If you need to remove an angle grinder disc but don’t have the spanner:
- Disconnect the grinder completely before touching the disc or spindle.
- Remove the battery from a cordless grinder or unplug a corded grinder.
- Check whether your grinder uses a conventional locking nut, a quick-release system or another manufacturer-specific fitting.
- If it uses a standard two-hole locking nut, use the correct two-pin spanner for that grinder.
- Don’t use pliers, grips or other improvised tools unless the manufacturer specifically says they are suitable.
- Don’t hammer the locking nut or use excessive force.
- If the nut is seized or damaged, stop and obtain the correct tool or seek assistance.
Some modern grinders use alternative disc-fitting systems such as Bosch X-LOCK, which do not use the conventional locking nut and pin spanner arrangement.
Crucial First Step: Isolate the Power Before Removing the Disc
Before attempting to remove an angle grinder disc, make sure the tool cannot start accidentally.
If you’re learning how to remove an angle grinder disc without the tool, this is the first step to complete before touching the disc, locking nut or spindle.
Corded Angle Grinder
Unplug the grinder from the mains socket.
Don’t rely solely on the power switch being in the off position. Removing the plug completely prevents the grinder from receiving power while you’re working on it.
Cordless Angle Grinder
Remove the battery pack completely from the grinder.
This is particularly important because your hands will be working close to the spindle and disc.
Once the power source has been removed, wait for the disc to come to a complete stop before touching it.
Never work on the disc or spindle while the grinder is connected to a power source.
Check Which Disc-Fitting System You Have
Not every angle grinder uses the same method for changing or removing a disc.
A conventional grinder commonly has:
- A spindle
- A backing flange
- The abrasive disc
- A threaded locking nut
- A two-pin spanner
Other grinders use different systems. For example, Bosch X-LOCK grinders use a tool-free accessory mounting system rather than the conventional locking nut and pin spanner arrangement.
If you’re trying to remove an angle grinder disc without the original spanner, don’t assume the same method will work on every grinder.
If you’re unsure about the normal disc-changing procedure, see my guide on how to change an angle grinder disc, which explains how to remove and fit a disc using the correct procedure.
Check your grinder’s manual if you’re unsure which disc-fitting system it uses. The manufacturer’s instructions should take priority over general advice, particularly if the grinder uses a quick-change or manufacturer-specific system.
If You Have a Standard Locking Nut but No Spanner
If your grinder uses the conventional two-hole locking nut, the sensible solution is to obtain the correct replacement spanner.
Many grinders are supplied with a two-pin spanner as standard. For example, Bosch lists a two-hole spanner alongside the locking nut and backing flange on its GWS 7-115 grinder.
A replacement spanner is preferable to improvising because it is designed to engage with the locking nut without damaging its holes or flats.
If the nut is only moderately tight, the correct spanner should normally allow you to loosen it while holding the spindle lock as described in the manufacturer’s instructions.
What About Using Pliers or Vice-Grips?
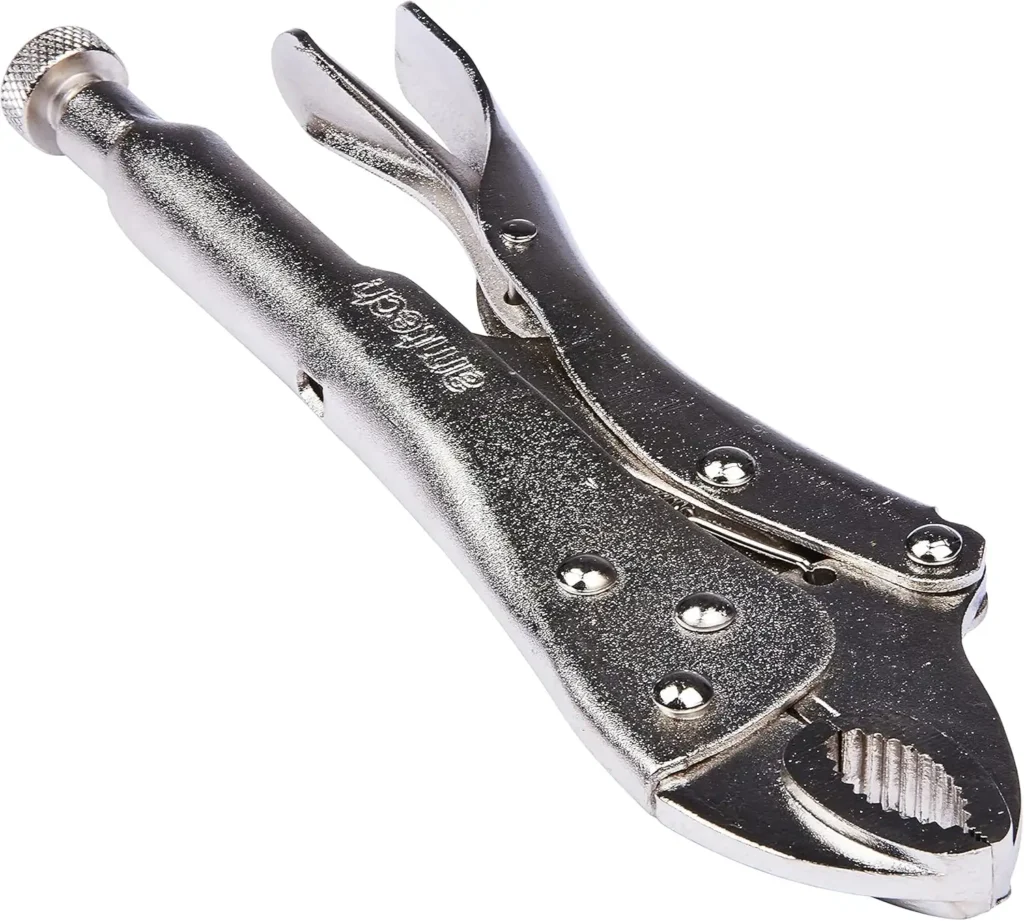
You may find advice online suggesting that locking pliers, adjustable pliers or Vice-Grips can be clamped onto the locking nut.
I wouldn’t recommend this as a general method.
The problem is that pliers are not designed for the two small pin holes found on a conventional grinder locking nut. They can slip, damage the nut or cause your hand to move suddenly towards the disc or grinder.
More importantly, manufacturer’s instructions can specifically advise against using pliers when a locking nut is stuck. Bosch, for example, states that a stuck quick-clamping nut should be loosened with the two-pin spanner rather than pliers.
So although you may see this method suggested elsewhere, it isn’t something I’d recommend as a standard beginner technique.
What About Using a Hammer and Punch?
You may also see the suggestion of placing a punch or screwdriver into one of the locking-nut holes and hitting it with a hammer.
This isn’t a method I’d recommend for a DIY beginner.
Hammering a locking nut can damage the nut, flange, spindle or disc assembly. HSE guidance warns against excessive tightening methods involving hammering and stresses that abrasive wheels should be mounted with the appropriate clamping pressure and tools.
If the locking nut is so tight that the correct spanner cannot remove it, stop rather than increasing the force.
A damaged locking nut or flange isn’t worth risking simply to avoid buying a replacement spanner.
If the Disc Is Completely Stuck
If you’ve already tried the correct removal procedure and the locking nut won’t move, don’t keep increasing the force.
Check:
- The spindle lock is operating correctly.
- You’re using the correct spanner for the grinder.
- The locking nut isn’t damaged.
- The flange is correctly positioned.
- The spindle and threads are clean and undamaged.
- The grinder manual doesn’t specify a particular removal procedure.
If the nut remains seized, a replacement spanner or professional assistance is a better option than using increasingly aggressive methods.
How to Prevent Your Disc from Getting Stuck Next Time
If you’re still unsure how to remove an angle grinder disc without the tool, the simplest option is usually to stop and get the correct replacement spanner rather than risk damaging the grinder or disc. The best way to deal with a stuck disc is to reduce the chance of it happening in the first place.
Don’t over-tighten the locking nut
The locking nut needs to hold the disc securely, but excessive tightening isn’t necessary.
HSE guidance says that where a single central nut is used, it should be tightened only enough to ensure the flanges drive the wheel and prevent slipping. Where the manufacturer specifies a tightening torque, that specification should be followed.
UK Safety Guidance for Angle Grinder Discs
Angle grinders use abrasive wheels, so it’s worth following recognised safety guidance when fitting, removing and using discs.
The HSE guidance on the safe use of abrasive wheels covers topics including mounting, handling, inspection and the correct use of abrasive wheels and portable grinding machines.
If you’re new to angle grinders, it’s worth reading the relevant HSE guidance alongside your grinder manufacturer’s instructions.
Bosch similarly advises against excessive tightening and recommends using the supplied spanner rather than power tools when fitting a conventional wheel.
If you’re replacing the disc as well, our guide to angle grinder discs explained covers the different types of cutting, grinding, flap and wire-wheel accessories and what they are designed for.
Keep the mounting area clean
Before fitting a new disc, check the spindle, backing flange and locking nut.
Remove dirt, grit and debris that could prevent the components from seating correctly.
Use the correct disc and fitting
Check the disc diameter, bore, mounting system and maximum permitted speed before fitting it.
Never force an accessory onto a grinder simply because it appears to fit.
The Simple Solution: Keep a Spare Spanner
If you’ve lost the original pin spanner, keeping a replacement with your grinder is probably the simplest solution.
It’s a small tool, takes up virtually no space and avoids the temptation to improvise when you need to change a disc.
And if you’re changing discs regularly, consider keeping the spanner in the same case, drawer or tool bag as the grinder so it doesn’t disappear the next time you need it.
For a conventional angle grinder, the correct spanner is a much better thing to reach for than a pair of pliers or a hammer.